Being able to access your emails conveniently starts with configuring your mail client. Doing so allows you to access your mailbox from any device, even at the same time.
Read on and we’ll show you how to set up your email account on multiple devices quickly and with ease by following this straightforward tutorial.
How to configure your mail client
Firstly, you will need to use the following details to add your mailbox to your chosen mail client.
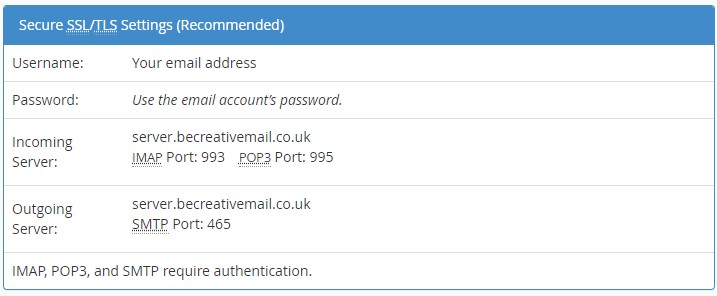
This section shows all the required information that you need to enter into the mail client. We always recommend using IMAP protocol in your mail client.
If you have been given a dedicated domain based URL for the server name, you should use that instead of server.becreativemail.co.uk.
WARNING: If you choose to use POP3, your email actions will not be synced to the server. This makes using multiple devices to access the same mailbox extremely complicated.
Mail client setup on Outlook
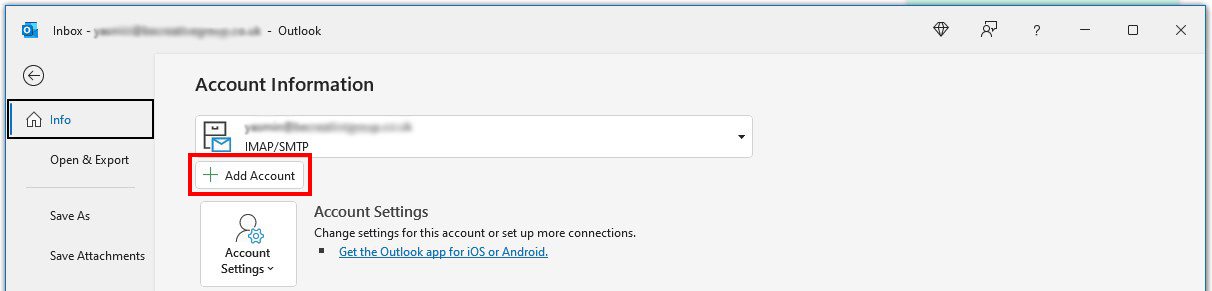
Connecting your email account to Outlook is simple and easy. First, you will need to open Outlook, click on “File“, and select “Add account“.
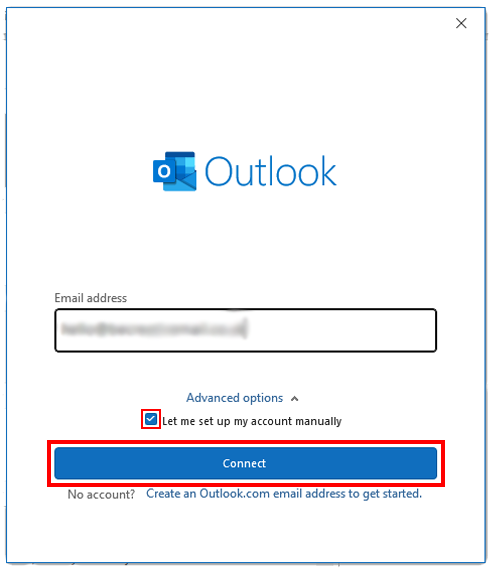
Once you select this option, a window will appear (shown below) where you are required to enter your email address, check the box “let me set up my account manually” in the advanced options, and then click the “Connect” button.
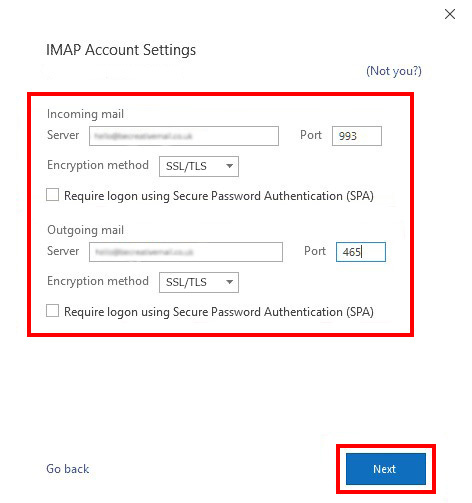
You will then need to select “IMAP” and fill in all fields by entering the information we provided earlier in the “How to configure your mail client” section. Once everything is correctly inputted, click “Next“.
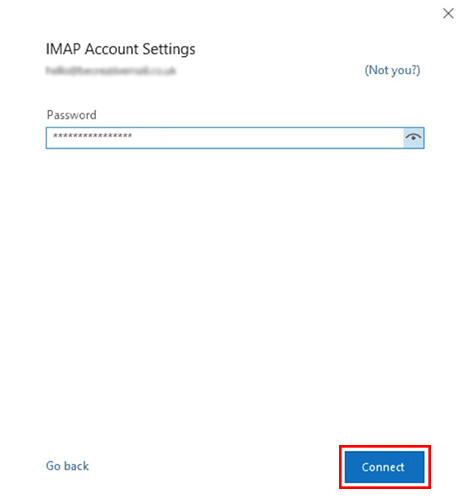
The final thing to do is to enter your password and click “Connect“, and that finishes the configuration!
Configure the mail client on iPhone
Connecting your email account to an iOS device is a very simple procedure!
Every iPhone and iPad device is integrated with the Mail app, where it is easy to configure your email account.
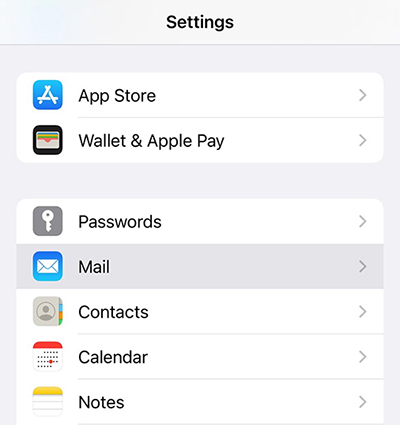
To start this procedure, you will need to open settings on your device and scroll down until you see “Mail“.
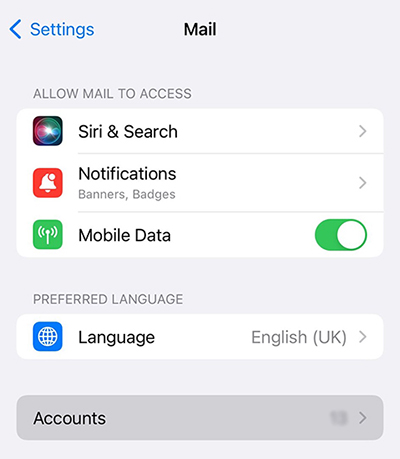
Now go to “Accounts“.
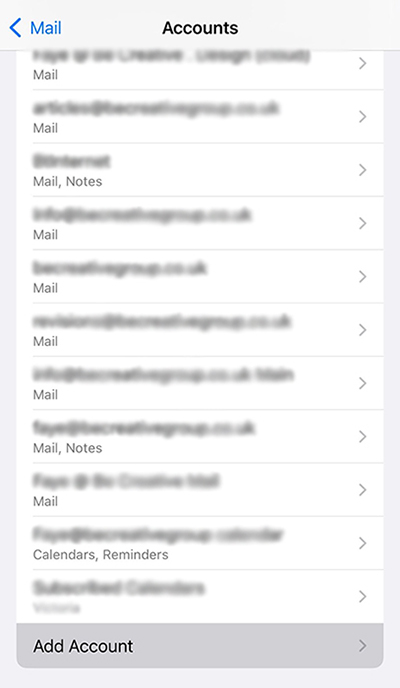
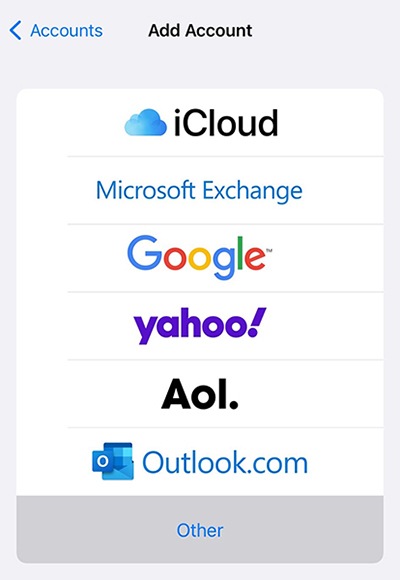
All mail accounts on your device will be displayed here. Select “Add Account“.
Next, select “Other” at the bottom of the email managers list.
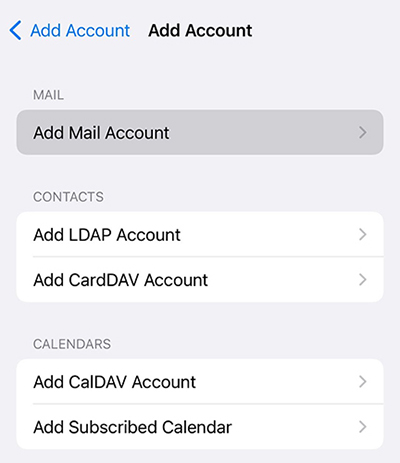
Under the “Mail” section, select “Add Mail Account“.
Here you need to enter your login credentials for the mail account that you are wanting to configure.
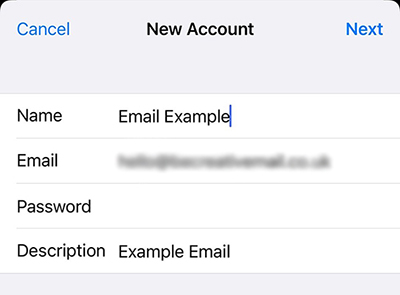
Press “Next” at the top right, and a screen will now appear for selecting the email protocol to use, always make sure “IMAP” is selected.
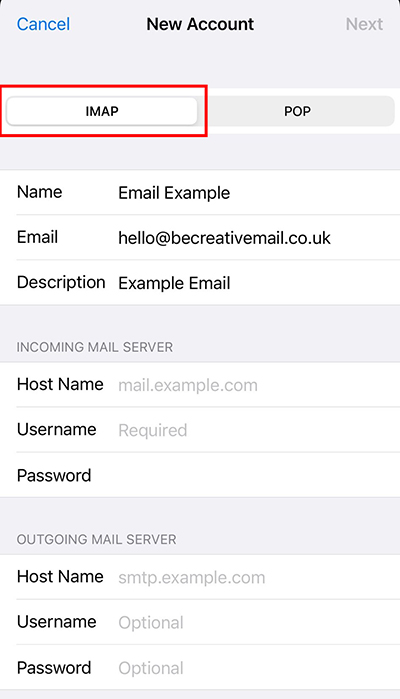
You will then need fill in the incoming and outgoing fields by entering the information we provided earlier in the “How to configure your mail client” section, and then click “Next“.
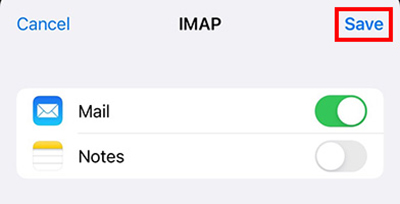
Once the account has verified, the final step is to select the applications you want to allow access to your email account, click “Save“, and that finishes configuring the mail client onto your iPhone!
Configure the mail client on Android
For Android, you can use Gmail to connect your email account to your phone because Android is an operating system developed by Google.
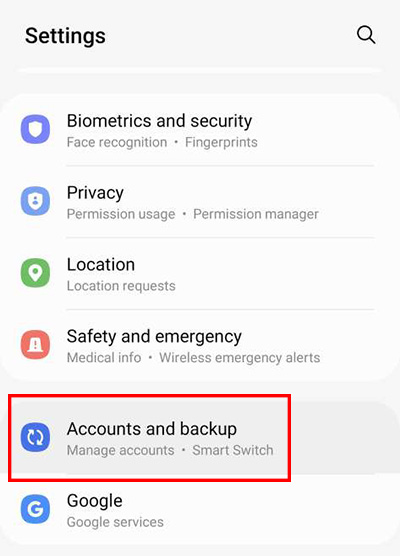
Open Settings and search for “Accounts” and go to “Accounts and backup” (may also appear as “Accounts“).
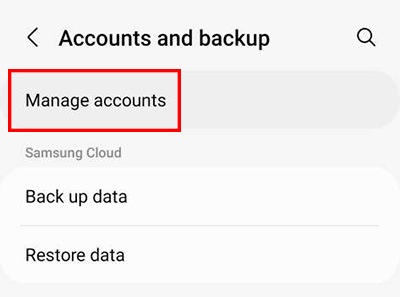
Select “Manage Accounts” (may also show a list of accounts at this stage, if so, select “Add Account” at the bottom of the list – as shown in the next step).
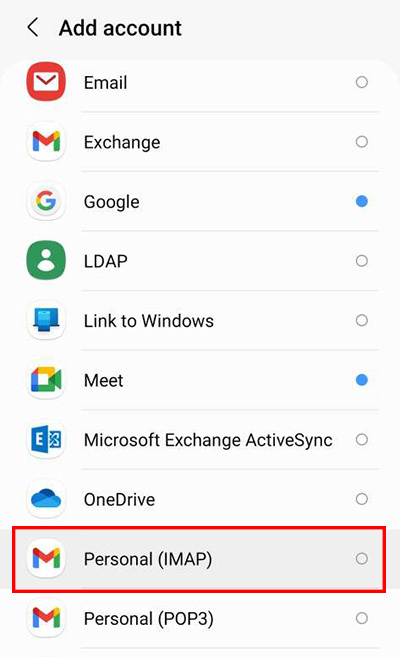
Then, select “Add Account“.
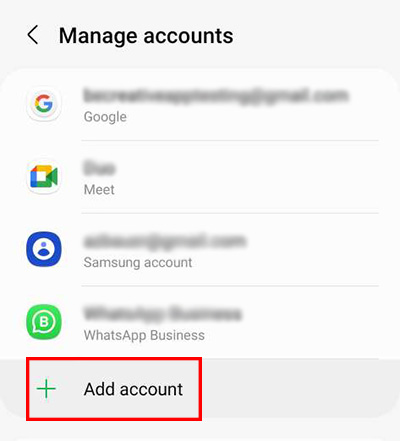
You will be presented with a list of accounts that can be added. Look for the Gmail icon and select “Personal (IMAP)“.
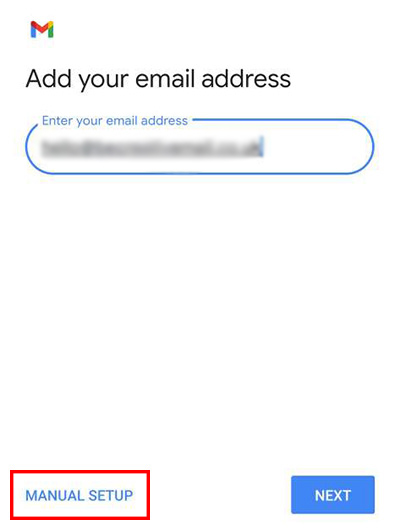
Once you have selected IMAP, you will need to enter the email address of your email account and select “Manual Setup” in the bottom left.
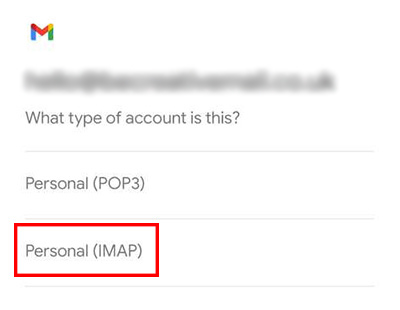
After selecting Manual Setup, options will appear for selecting which email protocol to use, select “Personal (IMAP)“.
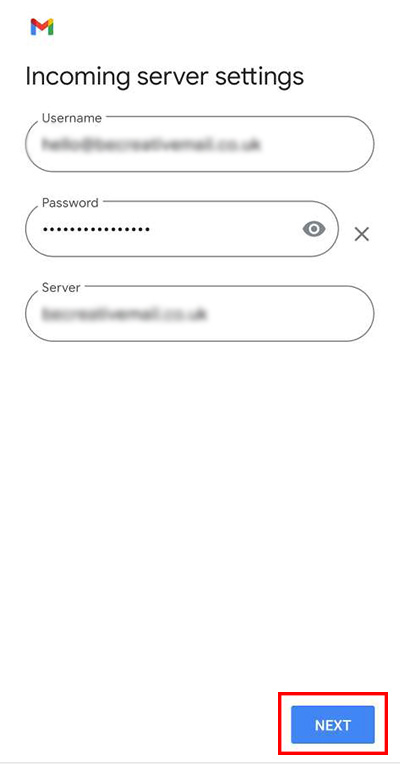
You will then need to enter the password associated with the email account you are setting up and click “Next” in the bottom right.
Once you’re on the next screen, you will need fill in the incoming server settings by entering the information we provided earlier in the “How to configure your mail client” section and click “Next“.
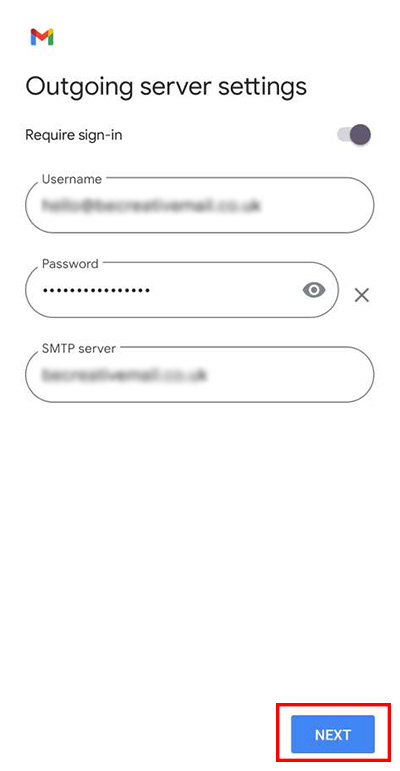
There will follow an attempt to connect to the account and, if the information is correct, another form will appear in which you will have to enter the data for the outgoing server settings by entering the information we provided earlier in the “How to configure your mail client” section. Then once again, click “Next“.
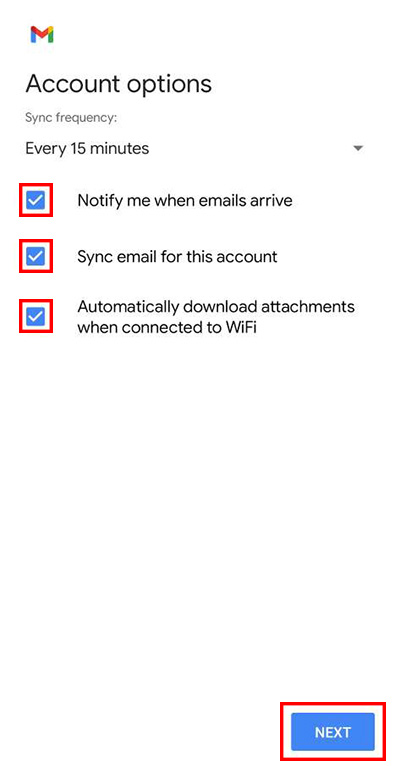
If you entered all of the above information correctly, you’ll come to a screen where you can configure the account synchronization options.
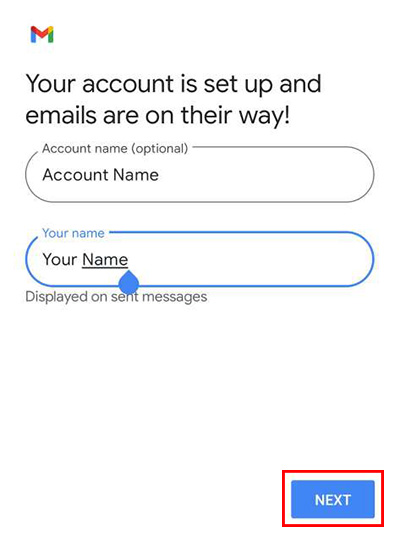
Finally, you will have to enter a name for your account, click “Next”, and that completes configuring the mail client onto your Android!
Please let us know if you need our help and we can send you a quote.
